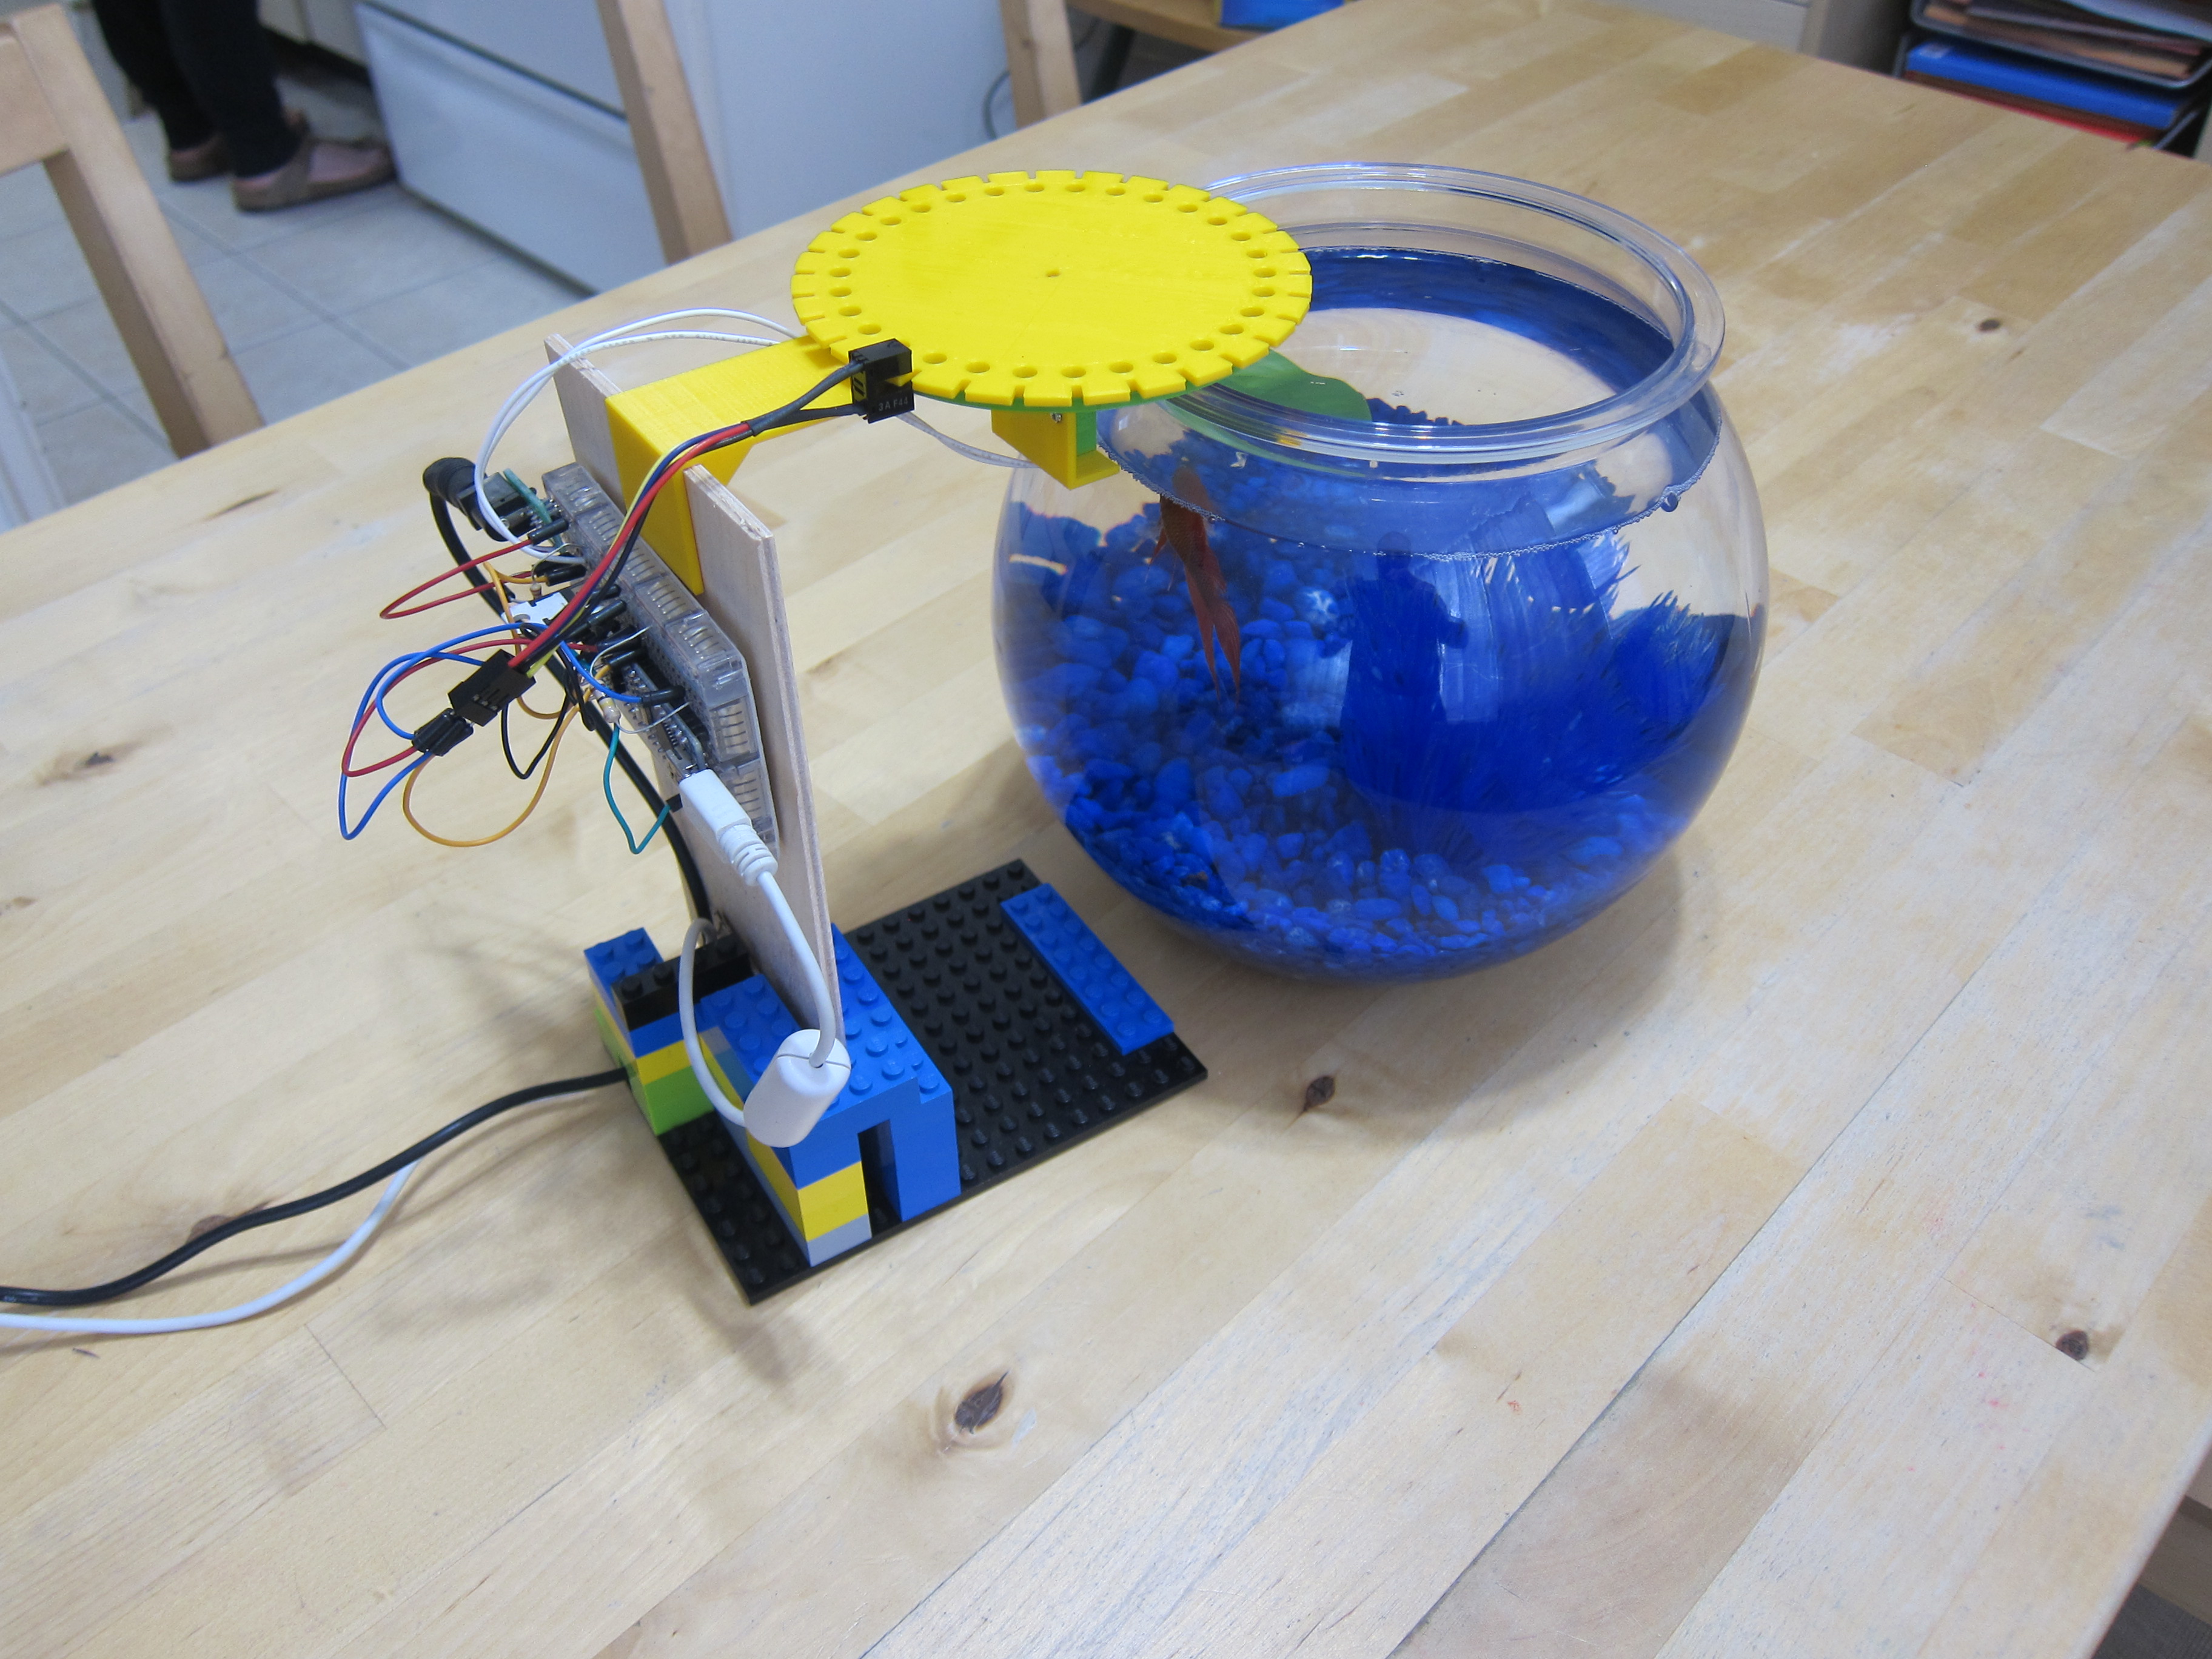
Fish Feeder Project - Part 2 - Completed!
After seeing the simple Automatic Fish Feeder on Thingiverse, I immediately ordered the required parts and set about modifying the design for my purposes.
I liked this particular design, as we only have a 2 bettas in 2 bowls, and we need to ensure only a couple of very tiny pellets drop with each feeding. I did want to make a few changes. It was not clear how the motor was controlled in the original design - I wanted to use an optical slot sensor to detect when to start and stop the rotating disc.
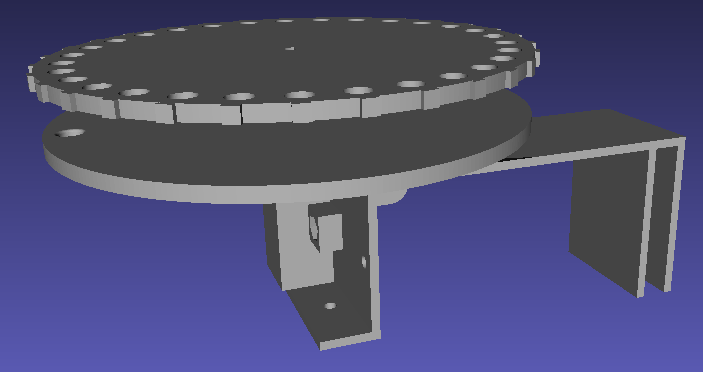
With OpenSCAD and Inkscape, I modified the original design. I added slots to the rotating disc, which could be detected by the slot sensor, and modified the support to suit my fish bowl.
Parts and Assembly Notes
- Arduino Nano
- 9V DC power supply
- Optical Slot Sensor (I used an Omron EESX1002-W3A - I just picked one at random from my local electronics store)
- Geared motor, DealExtreme SKU 214121
- TIP120 transistor
- 1N4001 diode
- Wires, resistors as per schematics
- Prints of Support-RichardMod.stl, discwslots.stl, Lid_for_motor.stl (files below)
The motor is connected to pin D9, and wired as per https://www.arduino.cc/en/Tutorial/TransistorMotorControl
The slot sensor is connected to pin A0, and wired as per http://www.martyncurrey.com/connecting-an-photo-interrupter-to-an-arduino/ I glued the slot sensor to the side of the support
It took some code tweaking to get the disc to stop at every hole. I couldn’t control the speed of the motor with pulse width modulation - perhaps because it’s geared, or there was too much friction, it just didn’t move unless I gave it the top speed. I settled moving the disc in small increments, checking the measurement from the slot sensor, repeating until it sensed it was in the right position.
Demo
Once built, send a ‘1’ over the serial port to the Arduino, and it will advance the rotating disc to the hole.
Play FishFeederDemo.m4v Demo Video
Source files: FishFeederFiles.zip

